


Today we’re happy to release the Cado Response actions for Tines. This integration enables security teams to automate many steps of an incident response investigation and quickly investigate incidents when needed in the Cado Response platform.
In this post, we'll outline how to get started with Tines and Cado Response and how you can use the integration to increase efficiency of your IR investigations.
Why Use Tines and Cado Response together?
Tines is a powerful SOAR (Security Orchestration, Automation, and Response) platform, a tool that helps security teams easily automate workflows. It leverages various APIs to automate tasks such as gathering alerts, generating tickets, and taking response actions. Tines enables security teams to be more efficient by building customized workflows.
Cado Security provides a cloud-native digital forensics platform. By automating data capture and processing across cloud and container environments, Cado Response enables security teams to effectively investigate and respond to cyber incidents at cloud speed.
When used together, security teams can leverage the benefits of automation from both Tines and Cado. For example, when an alert comes in from a detection platform like an XDR, Tines will trigger Cado to collect forensic copies of all systems involved in the alert. Cado will begin processing that data immediately and present it in a single timeline so security teams can quickly begin an investigation within minutes. Prior to automation, this whole process could take days or weeks and involve many people across different departments.
Getting Started in Cado Response
You can deploy a Free Trial of Cado Response straight from our website.
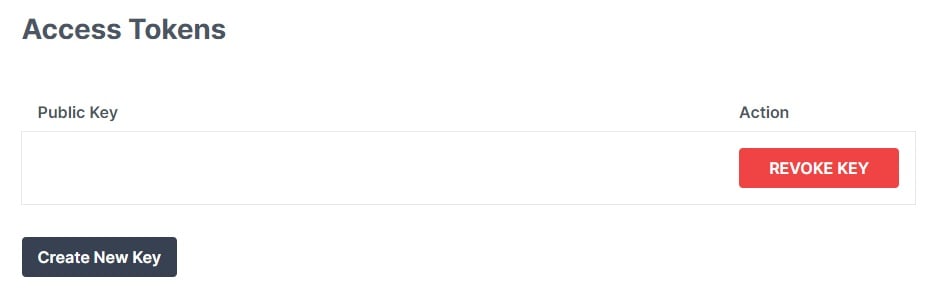
If you’re already a Cado customer and you’d like to use the Tines integration, you’ll need to do some setup inside Cado Response first to create an API key that you can give to Tines. You’ll also need the URL of your Cado Response instance. See our documentation for detailed steps on how to do this.
Getting Started in Tines
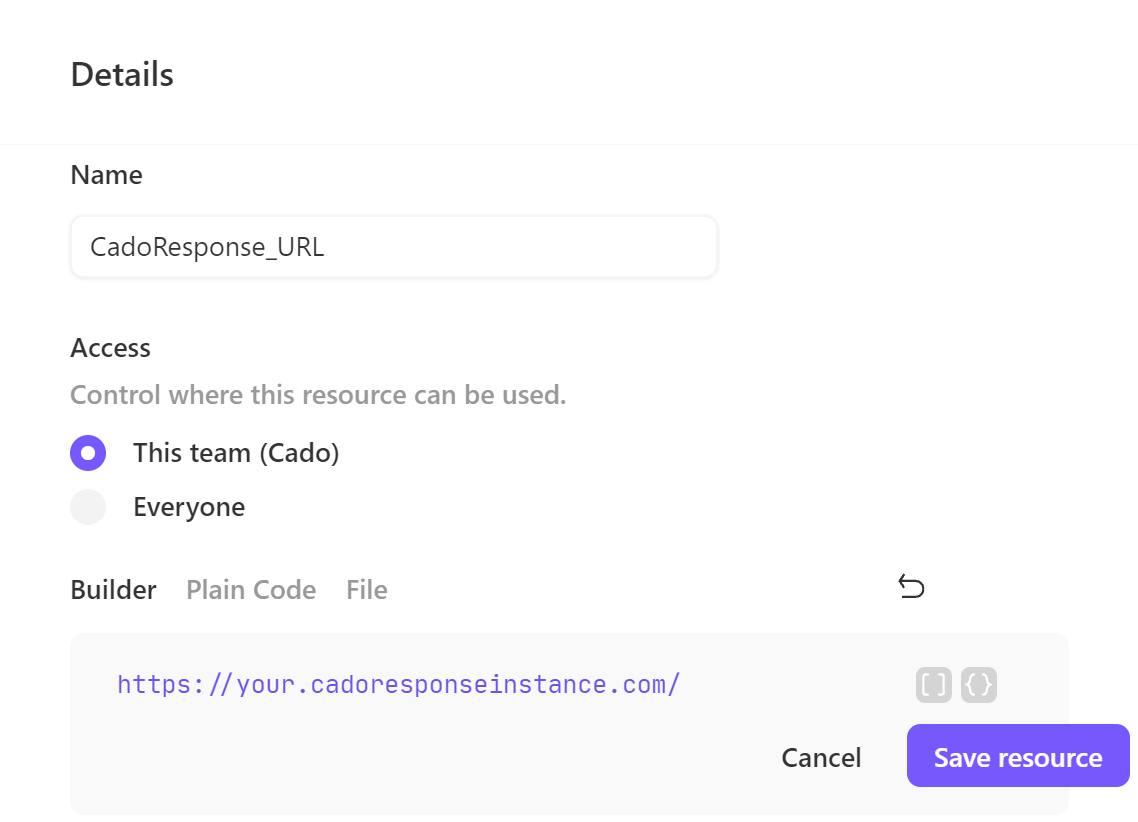
If you don’t have a Tines account, you can get started here. Using your new Tines tenant, you’ll need to add some Resources and Credentials.
Add a new Resource using your Cado Response URL (including the https), and a new Credential using the newly generated API key:
Use Case - Automate Acquiring an EC2 Disk Image
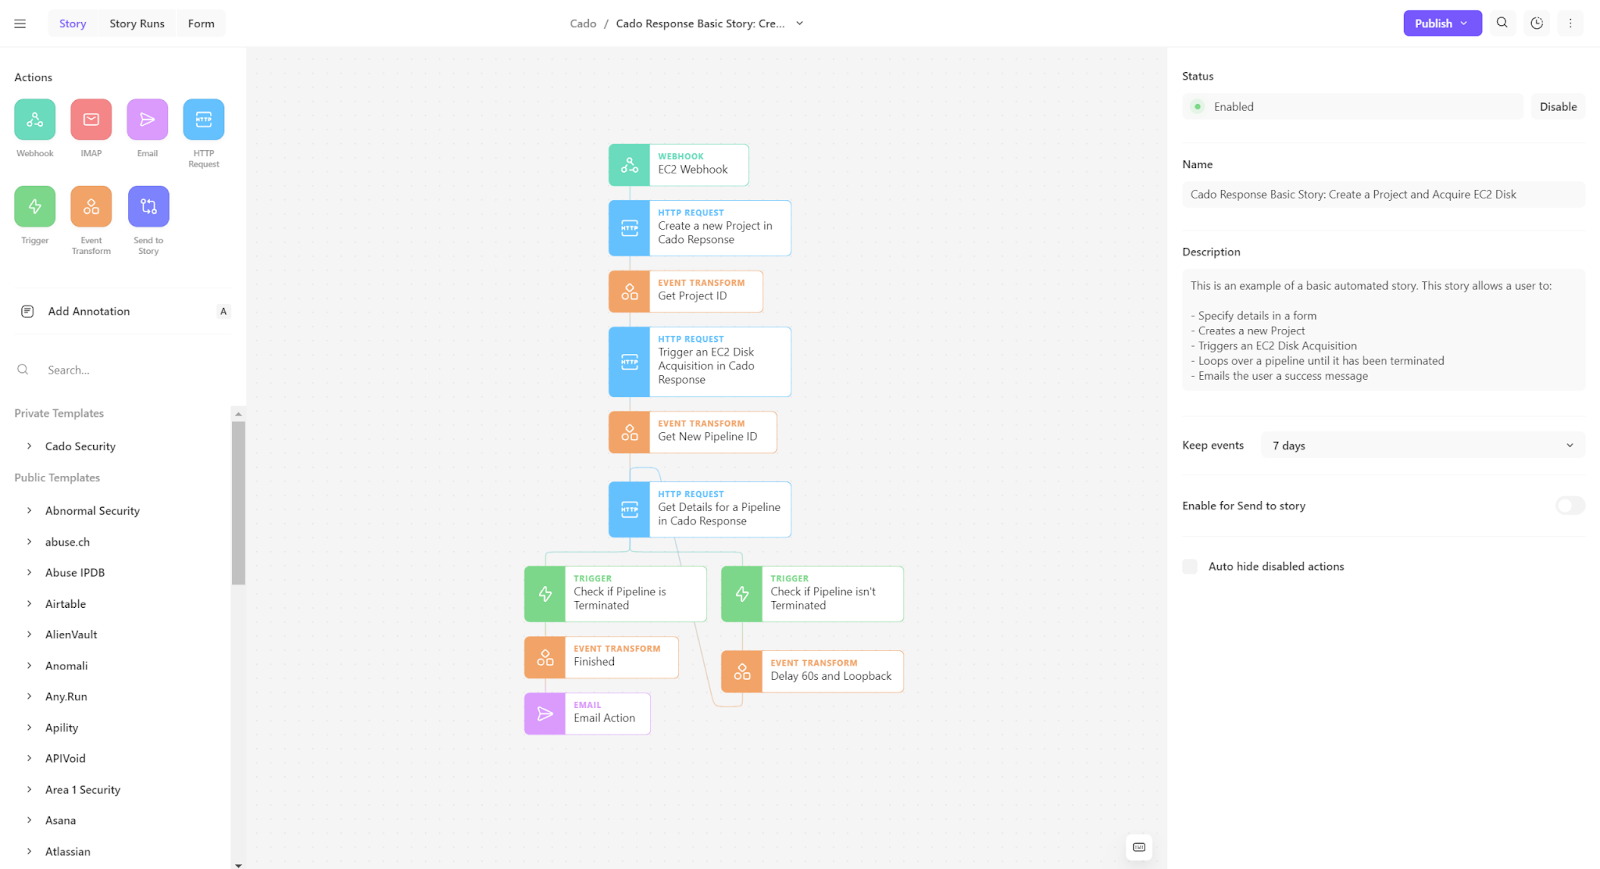
We’ll briefly show how you can use Tines and Cado Response to automatically create a new project in Cado Response and acquire an EC2 disk image using the actions and a form. If you’ve never used Tines before, now would be a great time to look at Tines documentation.
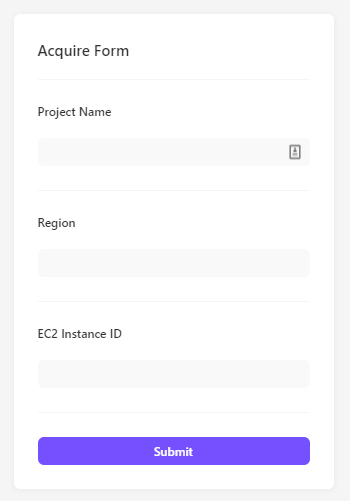
To get started, create a new Story in Tines and you’ll be taken to the Tines Story Editor. Drag a webhook action into the Story editor. Now click on the Form tab in the upper left corner and assign the Receiving Action to the Webhook Action. Then create a form like the following:
In the ‘Public Templates’ section, search for ‘Cado Security’ and find the Cado Response actions. Drag a ‘Create a new Project in Cado Response’ action into the story and use the action builder to match:

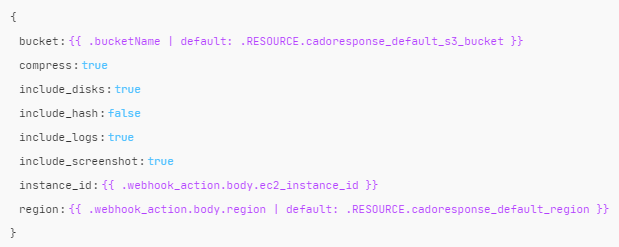
In the ‘Public Templates’ section, drag over a ‘Trigger an EC2 Disk Acquisition in Cado Response’ action block and use the action builder to match the following:
You should now be able to run this automation to see your new project and the power of combining Tines and Cado Response.
If you’re interested in setting up Automated Investigations - you can deploy a Free Trial of Cado Response straight from our website.
For further reading, check out our Tines documentation.
Tag(s):
News
More from the blog
View All PostsIntelligence Driven Cloud Incident Response with Cado Response and SophosLabs Intelix
February 22, 2022Continue Reading
Cado Response Now Integrates with Splunk SOAR to Automate Your Cloud Incident Response Workflow
February 14, 2022Continue Reading
Cado Security, SentinelOne and Tines Make Kubernetes Investigation and Response Possible
November 8, 2022Continue Reading